addicted2light
-
Posts
577 -
Joined
-
Last visited
-
Days Won
24
1 Follower

Recent Profile Visitors
2,340 profile views


addicted2light's Achievements
")


-
Hi, if you're on a Mac you can right click the MTS files and choose something along the lines of "show package content". MTS is just a container (a bit like a folder), inside you will find the "normal" video files that you can then drag and drop wherever you prefer.
-
No new adapters needed, like Username already correctly pointed out, and Contax-Yashica and Nikon glass will work wonderfully on the full frame bodies (I use both brands on the original A7r, and assuming you haven't got a lemon in the first place, these "old" lenses are super sharp)
-
 kazooless reacted to a post in a topic:
LE-EA4 and back button focus
kazooless reacted to a post in a topic:
LE-EA4 and back button focus
-
Gilgenberg reacted to a post in a topic:
Minolta MC/MD lenses images thread
-
I have used these at one time or another on the A7r. And all of them were more than good enough for critically sharp over 1 meter wide prints (if you know what you're doing, i.e. if you don't shoot them wide open expecting sharp borders, but stop them down a bit, and when present if you take into consideration filed curvature, focusing if needed at the working aperture instead of wide open and/or at the borders instead of the center of the image etc.): Contax Distagon 18/4** Contax Vario-Sonnar 28-85/3.3-4** Minolta Rokkor MC 24/2.8 Minolta M-Rokkor 28/2.8** Nikon Nikkor-N Auto 24/2.8 Olympus OM 24/2.8 Olympus OM 28/2 Olympus OM 28/2.8 Tamron Di LD IF AF 17-35/2,8-4* Yashica ML 28/2.8 In bold the ones I still use. Not that there is anything inherently wrong with the ones I sold instead, it is just mostly a matter of what film cameras I have. *This one has a ton of field curvature and you can forget about super sharp borders @17mm, but for certain subjects, at leas my sample, is quite good and you get AF coupled with an LA-EA4 **Not cheap, I would buy instead a Sony 28/2 at this point if I were you, unless of course you intend to use them on a film camera as well like I do
-
 First things first: welcome! And now let's try answering your question. I am going to talk only about lenses I've actually used / use on the Sony A7r. My 1st choice would be the: - Contax Zeiss 100-300mm f/4-5,6 Vario-Sonnar It's a terrific lens, and it ticks all your boxes: super sharp across the frame straight from wide open, fairly compact, and quite possibly beats hands down even Canon L glass ("possibly" because I sold my L glass before switching to Sony, so I didn't have the chance to test lenses on the same hi-res body. I can tell you though that when I first saw the results on the Canon 5D mk II I was seriously impressed). Lastly, you can generally find one between 600 and 800€. You will need an adapter with good flocking (Rayqual, Novoflex etc., or flock one yourself) otherwise you risk weird reflections. You could also pair it with a: - Contax Zeiss 28-85mm f/3,3-4 Vario-Sonnar From Zeiss own MTFs, it is a lens as sharp or sharper as the corresponding Contax fixed focal lengths (28/2.8, 35/2.8 and 85/2.8). Additionally it renders beautifully at 85mm, and you can find one for 350/400€. Its only fault is a tad of chromatic aberration shooting things like branches against a gleaming white sky. And don't be scared, it is not as big as it looks reading the specs. Specs for both lenses: http://www.contaxcameras.co.uk/slr/slrmanlenses/variosonnar2885.html http://www.contaxcameras.co.uk/slr/slrmanlenses/variosonnar100300.html That said, if you're more interested in the performance at f/8 and f/11, like you mentioned, you might be interested also in the: - Minolta AF 100-300/4.5-5.6 Apo Much more compact and way lighter than the Contax, it is actually a great performer between f/8 and f/11 (or at least my sample was, before hitting the floor and breaking...). And paired with an LA-EA4 you will get AF. You can find one for more or less 100€.
 -
A7ii image size in photoshop
addicted2light replied to Smilewtf's topic in Sony Alpha Full Frame Cameras
Almost: - first you need to reduce your resolution with "Image > Image size..."; choose anything from 800 pixel to 1500 (for the longest edge) - then you export for web (not the same as "Save as...", it will cut a lot more weight) with "File > Save for web..." choosing one of the jpg presets (I prefer high) -
A7ii image size in photoshop
addicted2light replied to Smilewtf's topic in Sony Alpha Full Frame Cameras
My guess is you have set Adobe Camera Raw (the windows that pops up when you open a raw in Photoshop) to interpolate down your files instead of opening them at native resolution. And you set a bigger interpolation for the Canon. Just look at your screenshots, the Canon is 18mp and the A7 II 10mp (the Canon shoul read 21 and the Sony 24; multiply width by height to get the value in megapixels) To set CameraRaw to open your files at their native resolution: - open a raw file (you will have to do this once for each camera because the preference is camera-specific) - click on the bottom, where it says something like "Adobe (or Prophoto) rgb; 16bit; SIZE IN INCHES; 240dpi" - in the preference window that it will pop up uncheck "Resize to fit" Done! -
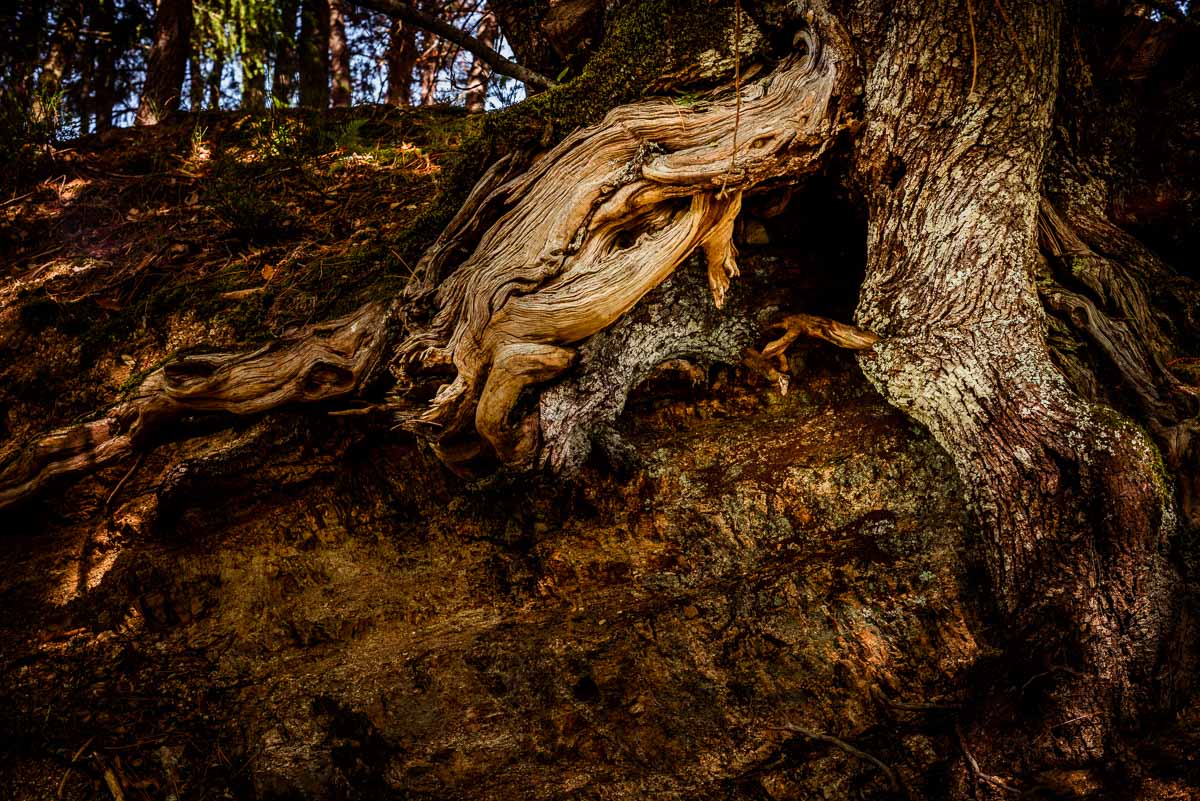
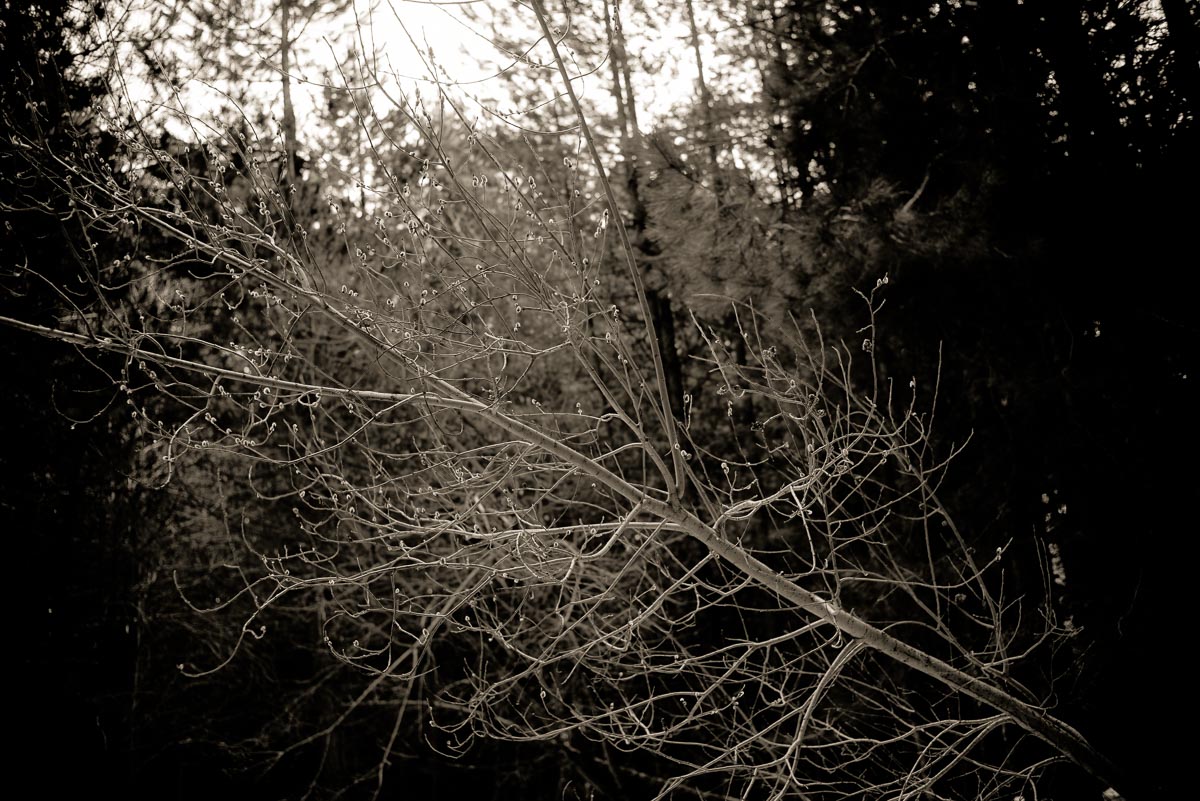
A couple of new/old images, all shot with the A7r: Minolta 55/1.7 Rokkor PF MC Minolta 50/1.2 Rokkor MD ...and if you're curious about the bokeh at f/1.2 (just a test shot) Minolta 200/4 Rokkor MC

-
izzikiorage reacted to a post in a topic:
Minolta MC/MD lenses images thread
-
MaynardFrobish reacted to a post in a topic:
Poor Print Quality
-
Poor Print Quality
addicted2light replied to Photonanny614's topic in General Discussions about Sony Alpha
...or, if tinplater is right, change print service! It is not that inconceivable that they are just making a poor job. -
Poor Print Quality
addicted2light replied to Photonanny614's topic in General Discussions about Sony Alpha
I obviously don't know how blurry you pictures look, but especially inkjet prints, where the ink spreads on paper lowering the resolution (it is more complicated than that, but just to understand each other) you will need to apply quite an heavy dose (as seen on screen) of sharpening. To print "sharp" more often than not the image shoul look horrible on screen, badly oversharpened. The easiest way, considering that the right amount will depend on taste, type of paper, viewing distance, kind of printer etc., is using Google free plugin: https://www.google.com/nikcollection/products/sharpener-pro/ If that's not it either your printer might be not functioning properly, or you're sending to the printer, someway, low resolution files. -
Poor Print Quality
addicted2light replied to Photonanny614's topic in General Discussions about Sony Alpha
Thanks a lot, I'll give it a try! I noticed the lack of accuracy, btw, mostly with warm-ish pictures (for example first light on trees at dawn and similar stuff), where the prints looked way too cold/blue if seen under the bulbs I tried. -
Poor Print Quality
addicted2light replied to Photonanny614's topic in General Discussions about Sony Alpha
Great explanation, but just to avoid confusing Photonanny614: the kind of calibration Jaf-Photo is talking about is a different one from the calibration of your screen; he is talking of calibrating your printer for use with the specific set of inks and paper you have. While calibrating your screen will generally make a fairly obvious difference calibrating the printer, like Jaf-Photo said, is more a matter for advanced users. That being said, he made me remind of another point: when you print, set the paper profile in your software for the brand & kind of paper you are printing on. If it's of the same manufacturer of the printer you will generally already have these profiles installed on your system. Otherwise you will be more often than not be able to download them from the websites of the paper's manufacturers. @Jaf-Photo: what kind of 5500K bulb are you using? I'm having trouble finding one with a good CRI...so in the end I decided to stick to daylight (color) printing examination. But the problem is mostly in wintertime when the days are short. -
Poor Print Quality
addicted2light replied to Photonanny614's topic in General Discussions about Sony Alpha
Printing is an art in itself, plus what Username and westindiangal said. Check YouTube or the web for "photo printing tutorials" for more detailed instructions, maybe even tailored to the software you use (Photoshop? Lightroom? etc.) But the bullet point version goes more or less like this: 1) KEEP THE LIGHT LEVELS CONSTANT WHERE YOU EDIT YOUR PICTURES Changing light levels will skew how bright/dark/contrasty you will edit your picture from day to day. Try keeping the light levels and kind (artificial or natural) constant and try avoiding reflections on your screen. A decent solution (not perfect, though) is a colorimeter (see point 3) like the X-Rite that adjust, automatically, the brightness of your screen to compensate for changing light levels during the day 2) LOWER THE BRIGHTNESS OF YOUR SCREEN, A LOT New displays have a brightness level, by default, that is waaaay to high for photographic use. I tend to stay around 120 cd/m2 3) CALIBRATE YOUR SCREEN Not optional, otherwise you will fly blind literally without knowing what are you doing: buy a colorimeter and calibrate your screen. I personally use the X-Rite Colormunki Display and I'm pretty happy with it, more or less 100€ 4) PUSH (A BIT) CONTRAST, SATURATION AND SHARPENING After you've got your image exactly where you wanted in terms of colors, contrast, sharpening etc. on screen you will basically...have to start again . Essentially a printed image will exhibit less contrast, sharpening and (depending on the kind of paper you're using) saturation of an image displayed on screen, so you will have to push these values 5) CHOOSE YOUR PAPER CAREFULLY Glossy papers are easier, for a novice, to print on. Matte papers are generally more finicky because they tend to not be able to print a full gamut of colors (i.e. not all the colors you see will be able to get printed on the paper, at least not at their current saturation), so IMO they are best left for when you'll have developed at least a basic understanding of printing 6) LIGHTEN (A BIT) YOUR IMAGE Brightness: an image on a screen is backlit, and the light is constant. An image on paper relies on the level of light that falls on it. This, even with a perfectly calibrated screen, means that often* you will have to add a tiny bit (1/3 to 1/2 a stop) of brightness to your images (in Lightroom's Print module there is a slider for this). *In reality this will depend by the light levels in the place where you intend to show your picture, but you will rarely find a place where the image will receive as much light as a backlit screen 7) (DEPENDING ON THE LIGHT) ALTER THE COLORS Lastly, depending on the color temperature of the light that will illuminate your picture, you might have to mess a bit the colors in your picture. This, mind you, will apply just to pictures that are meant to be shown in a specific location, for example hung on a wall in a room where they are only lit from tungsten lights. Essentially you will have to decide if the print will have to look fantastic in that light, but wrong under other kind of lights, or just meh! but in any light. There are many more things to consider when printing, like I said it is an art form in itself, but these points should at least cover the basics. Have fun! -
Sorry I can't directly answer this one, having never used an expensive plate setup like the RSS. But if I had to guess there shouldn't be that much difference, because the biggest problem originates from the lack of a tripod mount on the side of the camera. This makes the vertical section of an L bracket unsupported and inherently shaky. I would buy in an instant, all other things equal, a camera with an Arca compatible base and left side. After all this has been the professional standard for many years, why nobody has thought of this - especially now that the megapixels are rising every year - is beyond me.
-
addicted2light reacted to a post in a topic:
My workflow in RAW file management >1 TB per year, storage and backup
-
Well, since I moved back home (were the nearest photographic shop, digital stuff aside, to be found is at 100Km...) I've bought 99% of my cameras and lenses online. Yet, during the years, I've had just 2 bad experiences. In one case it was the postal service fault: a Nikon Coolscan 8000 arrived, literally, bent in two (incredibly, even though the seller refused to pay for the damage, I sold it as parts, and I was still able to recover all the money...)! Another time a lens had bad fungus, but in this case I just sent it back to the seller. My main source is ebay: as long as you read attentively the feedbacks you're not going to have bad experiences, at least not of the kind that cannot be solved by a mail to the seller. Shops tend to be quite a bit more expensive than a private seller on ebay (or on catawiki, another auction site), but obviously being a shop they have more expenses to front as well. And it is not always the case: when something becomes "fashionable" you will often be able to buy it way cheaper from a shop. To give you an example, years ago I was able to buy a Contax G 45/2, new old stock, for 200€ while on ebay etc., used, they tended to go for double that amount...same thing happened with my Contax 100-300 and with several other lenses. So don't discount a shop just right away, confront the prices first. Beside the auction sites another great shop is http://www.secondhandcamera.nl/?page_id=595 (and they have a Minolta 35/1.8 at this page; it is wildly expensive, but it has been on their site for ages, so you could try contacting them and making an offer). And if you're handy with Italian (or with Google Translate!) you could check as well: www.newoldcamera.com www.fotootticacavour.com www.ilcontattostore.com I bought at one time or another from each one of them and they are all good sellers. The only gripe is that, if you ask to pay by credit card, quite often you will be required to pay the commissions (usually around a few % of the sum, if I'm not mistaken around 4%). This doesn't apply to a bank transfer, though. Happy hunting!
-
alfavisuals reacted to a post in a topic:
Wide angle Lens
-
Hello and welcome! Now, about your question. There is an old Nikon lens (same optical scheme as the "current" Ai version, just possibly older coating) Nikkor-O 35mm f/2 that could suit your purpose. You can find one for 60€ and it is quite a nice performer. Nikkor-O 35/2 If you're willing to spend a bit more the Minolta MC 35mm f/1.8 (around 150€) is hands down one of the best classic (i.e. not aspherical) 35mm lenses I ever used. It soundly beat the Nikon 35/1.8 AF G that I had at the same time (this trying both on the same full format camera, an A7r), even fully open in the center. Minolta MC 35/1.8 Spend even more (price fluctuates a lot, I've seen it from 200€ to 500€) and you can get a Minolta M-Rokkor (Leica M mount) 40mm f/2. It is a touch worse than the Minolta MC 35/1.8, but it is also wildly smaller. Minolta M-Rokkor 40/2 If you need AF, considering third party adapted lenses on the A7r have poor focusing, then your only option (luckily a great one optically) would be an LA-EA4 adapter + the Minolta AF 35mm f/2. The adapter runs around 200€ (new, Amazon) while the lens can be had for 200/250€.